Many guitarists desire to switch keys but afraid of picking up funky chord shapes? How about you? Is that also your case? If you are in the same boat, then a capo can come and save your neck.
The question is how to make a homemade guitar capo in the event that you don't have enough time to go to the retail store and pick one?
Fear not! We got your back. Here we provide a straight-to-the-point instruction to make a capo DIY.
Read on to learn!
How To Make Homemade Guitar Capo? Step-by-step Instructions

A DIY capo can do wonders for you in many cases.
For example, suppose you wish to try a capo to check whether it really works for your playing style, but you find the amount of money you pay for a real one a waste.
In that case, an economical homemade capo turns out to be your savior.
Or you desire replacement when your capo goes missing or gets broken; a DIY capo can give you everything you need quickly and economically.
Prepare all necessary materials
The materials you can take advantage of to make a DIY capo are very diverse. They vary greatly from type to type, depending on which one you find available. In this article, we will pinpoint some materials you can pick based on:
The base
In case you wonder what the base of the capo cap is, it is a surface that comes into contact with the guitar strings.
To make the base, the material needed is very simple. Just make sure it is large enough to cover the full width of the fretboard.
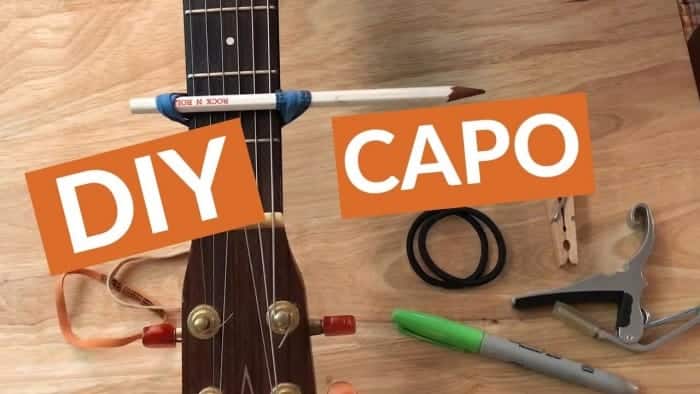
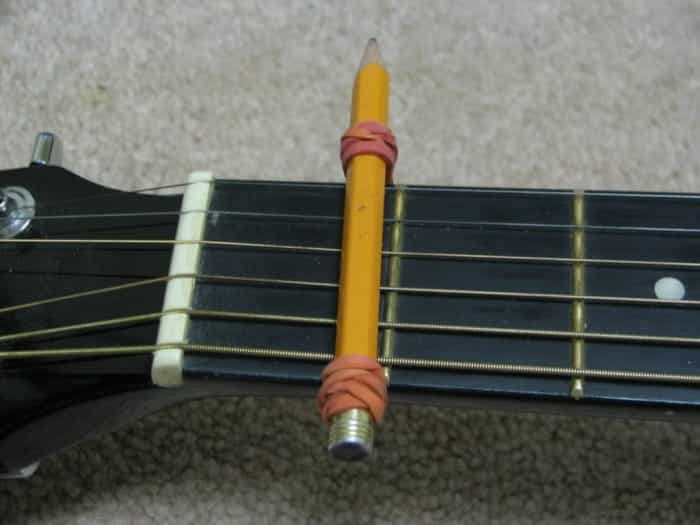
Given that fact, pens, markers, rubbers, or pencils will all meet the base requirements. We are sure that you can easily find one available at home. If not, ask your children for one.

Pens, markers, rubbers, or pencils will all meet the base requirements
Tying tool
And now another story: The tool to put your base and the guitar together. When choosing the tying device, the bearing capacity should be your top priority.
The strings will be held by this tool, so make sure it can withstand pressure. In this case, an elastic band such as a hair tie is often favored.
You can also take advantage of your piece of string to fulfill that purpose.

When choosing the tying device, the bearing capacity should be your top priority.
The setup process
Before attaching the capo, tune your guitar a bit accordingly. EADGBE is the most effective way you can refer to tune up your guitar.
Tie the band to your capo
Now, it’s time to tie the band to your capo.
Your task is to connect the first end of the tying tool (you can use either a band or a string in the previous step) with the base.
Then, to create a knot, use force to fix a knot of the string which is adjacent to the base’s edge. This knot will work magic when you fit the capo to the guitar.
Next, looping the other end of the tying tool around the base is the job you must do. Don't forget to remove the loop before getting it attached to the guitar.
Put the capo and the guitar together
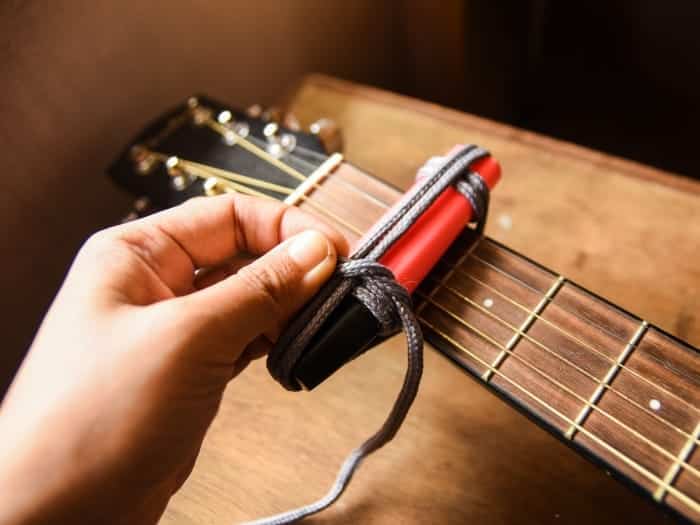
To complete this step, you need to do two jobs. First, place the base over your guitar neck at the fret you want. Second, for the sake of fixing the base with the strings, loop the band around the base (loop the other end only).
As mentioned above, the pressure resistance of the elastic band is very important. If the pressure is not enough, you need to double the loop.
Make sure it offers enough pressure. This is the prerequisite so that the strings can be pressed down over the fret.
Check and adjust the tightness
All you need to do now is remove the capo and tie a knot on one end of the band. This step reinforces its tightness. Just do it over and over again and stop when you notice that the strings are pressed against each other.
Now you can use the capo, but let's play a chord to check it again.
In the testing process, pay attention to the open strings as they are the notes that are influenced the most by the capo.
FAQs
Capo - What is it?
In case you are still unclear about what the capo is, a capo is a small part clamping to the neck of a guitar. It functions to hold the strings of a fret so that all strings are open for the time being higher than the fretboard.
Is the capo of necessity?

Is the capo of necessity?
The answer relies on your needs. But all in all, in most cases, the answer is yes. It will basically help you, in one way or another. Let's say you cover a song that requires capo. In this case, having a capo is a must.
In an unexpected situation, like the singer suddenly wants to move the song to a higher key, the capo will help you to transition very effectively.
The Bottom Line
A DIY capo will not only do wonders for your guitars but also save you a lot of time and money in your music-playing journey.
In this article, we have shown you some useful tips on how to make homemade guitar capo as well as answer some frequently asked questions related to it. Make sure you follow the right order for the best results.
If you have any more questions, don't hesitate to drop a comment.
Thanks for your time, and see you in the next post!
Related Posts:
Can I Use Guitar Capo With Ukulele
Is A Guitar Capo Necessary
